Switching to Omarchy: Replacing iCloud Drive for files
/ 5 min read
Table of Contents
Introduction
I have been considering for a while to switch away from iCloud for storing my photos and documents. Not because of any resentment or anything, but I just don’t know whether I will use their platform in the future, so it would be better to have something that is independent from any of the big OS vendors.
With this in mind, I looked at the options that are available for me to use for file storage on Linux, keeping in mind that it should work cross platform.
After some research, I settled on what seems to be a good approach. I plan to use Cloudflare R2 for storing all my files, and then use a combination of applications on the different Operating Systems that I use for syncing the files between R2 and the Operating Systems.
In this blog post, I’ll walk you through my setup.
Creating an R2 storage bucket
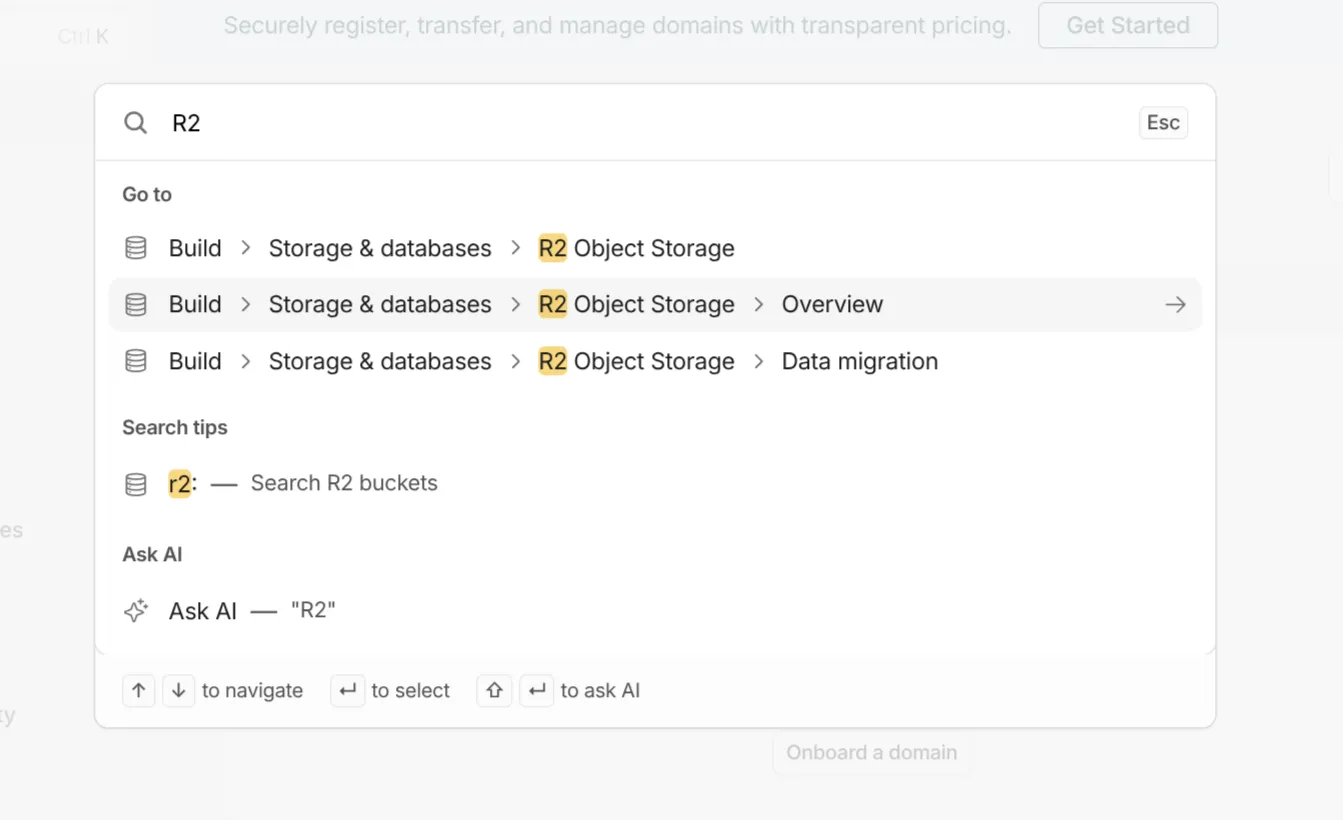
I have an existing Cloudflare account, but if you don’t you can sign up for one. Next, search for the R2 service.
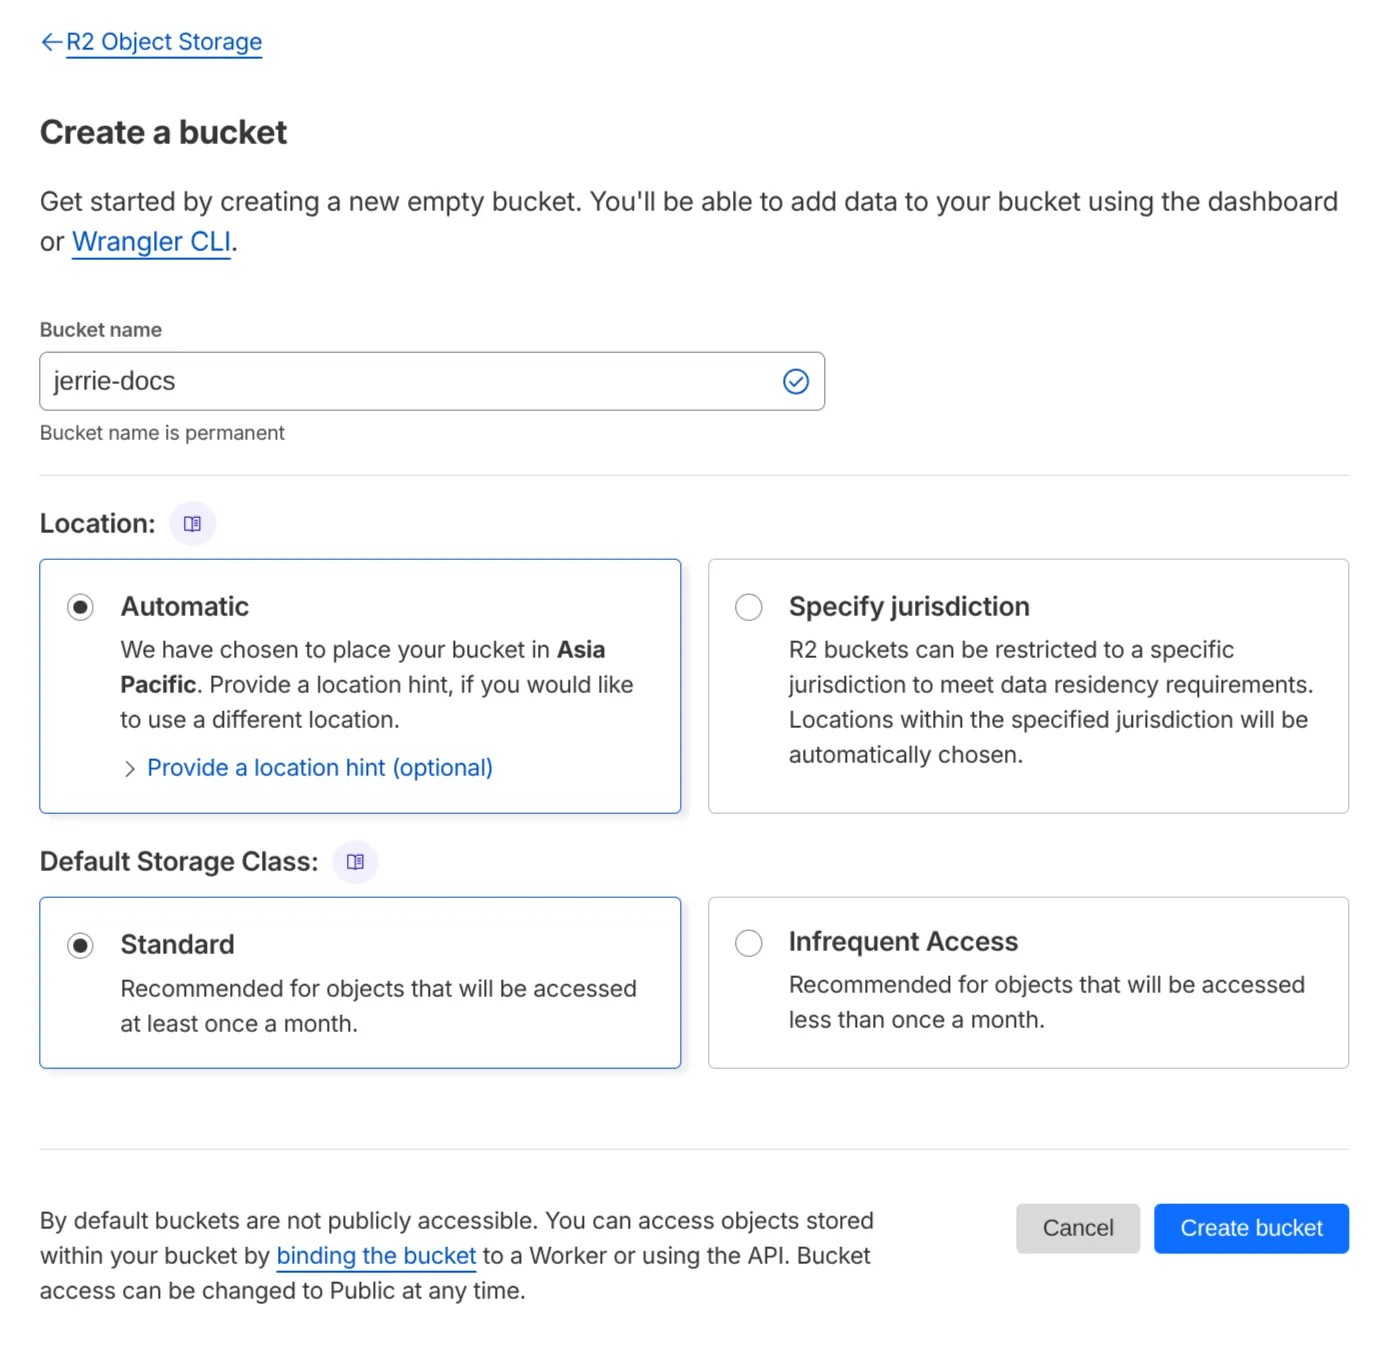
Create a new bucket. I set the storage location to Asia Pacific and selected the Standard storage class.
You will also need to create API token. Click on Manage next to API Tokens in the Account Details section of your R2 accouunt. Give the token a name, select “Object Read & Write” permission and create the token. Take note of the Access Key ID and Secret Access Key as you will need those when configuring the R2 connection in rclone.
Installing rclone
You can install rclone from the Omarchy Menu by selecting Install -> Package and searching for “rclone”. Alternatively you can execute the command sudo pacman -S rclone from the terminal.
For configuring the R2 connection in rclone, I followed the guide on the rclone website. Once that was done, I ran the command rclone ls r2:jerrie-docs (jerrie-docs is the name of the bucket I created in R2) to list any existing files or folders in the R2 bucket.
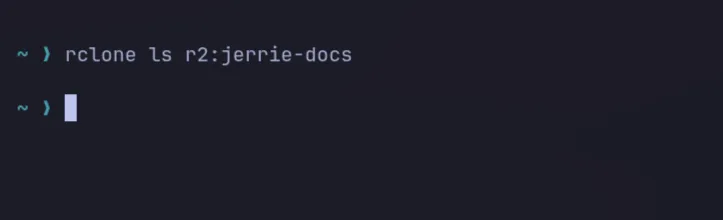
As you can see, it did not list any files because the bucket is empty. More importantly, however, it also did not throw any errors, so I was happy the rclone connection was created successfully.
Next, I want to confirm that it was syncing files from my computer. I decided to use the ~/Documents folder that was created when I installed Omarchy to store my documents. I mounted R2 bucket to my filesystem at ~/Documents with the following command.
rclone mount r2:jerrie-docs ~/Documents --vfs-cache-mode full --daemonThe --daemon flag ensures it returns control back to my terminal by running as a background daemon process.
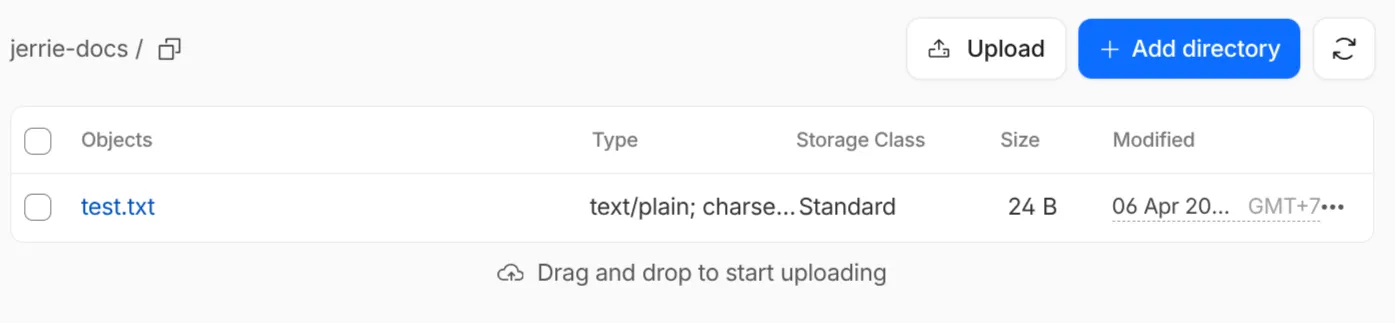
Next, I created a new file in the ~/Documents folder.
echo "This is a test document" > ~/Documents/test.txtAnd confirmed that it was successfully uploaded to the R2 bucket.
Make the mount persistent
Having proven that the R2 drive is mounted and documents are synced, I wanted to make sure the R2 drive is mounted every time I restart my computer. For that, I created ~/.config/systemd/user/rclone-r2.service with the following content:
[Unit]Description=rclone R2 mountAfter=network-online.target
[Service]ExecStart=rclone mount r2:jerrie-docs /home/jerriep/Documents \  --vfs-cache-mode full \  --vfs-cache-max-size 10GExecStop=/bin/fusermount -u /home/jerriep/DocumentsRestart=on-failure
[Install]WantedBy=default.target
After that, I enabled the service by running the following command:
systemctl --user enable --now rclone-r2.serviceThis ensures that the service will start automatically at login.
Migrating my documents
For migrating the documents, I switched back to a spare Windows computer. I took this approach because the files from my iCloud account were already on that computer due to the iCloud Drive integration for File Explorer which I installed. However these files needed cleanup.
So, I copied all the files to a new directory where I proceeded with reorganizing the files into a new director structure and removing old files.
Next, I installed rclone on Windows using Winget with the command winget install Rclone.Rclone. I also installed Winfsp which is required if you want to using the rclone mount command. You can review the rclone installation docs for additional installation options.
With that in place, I went through the same process as I did on Linux to add an R2 connection, then mounted the bucket to the P: drive using the following command:
rclone mount r2:jerrie-docs P: --vfs-cache-mode full --vfs-cache-max-size 10GI then copied the newly reorganized content into the P: drive, switched back to Linux and confirmed that the documents were now available in my ~/Documents folder.
Access the documents on iOS
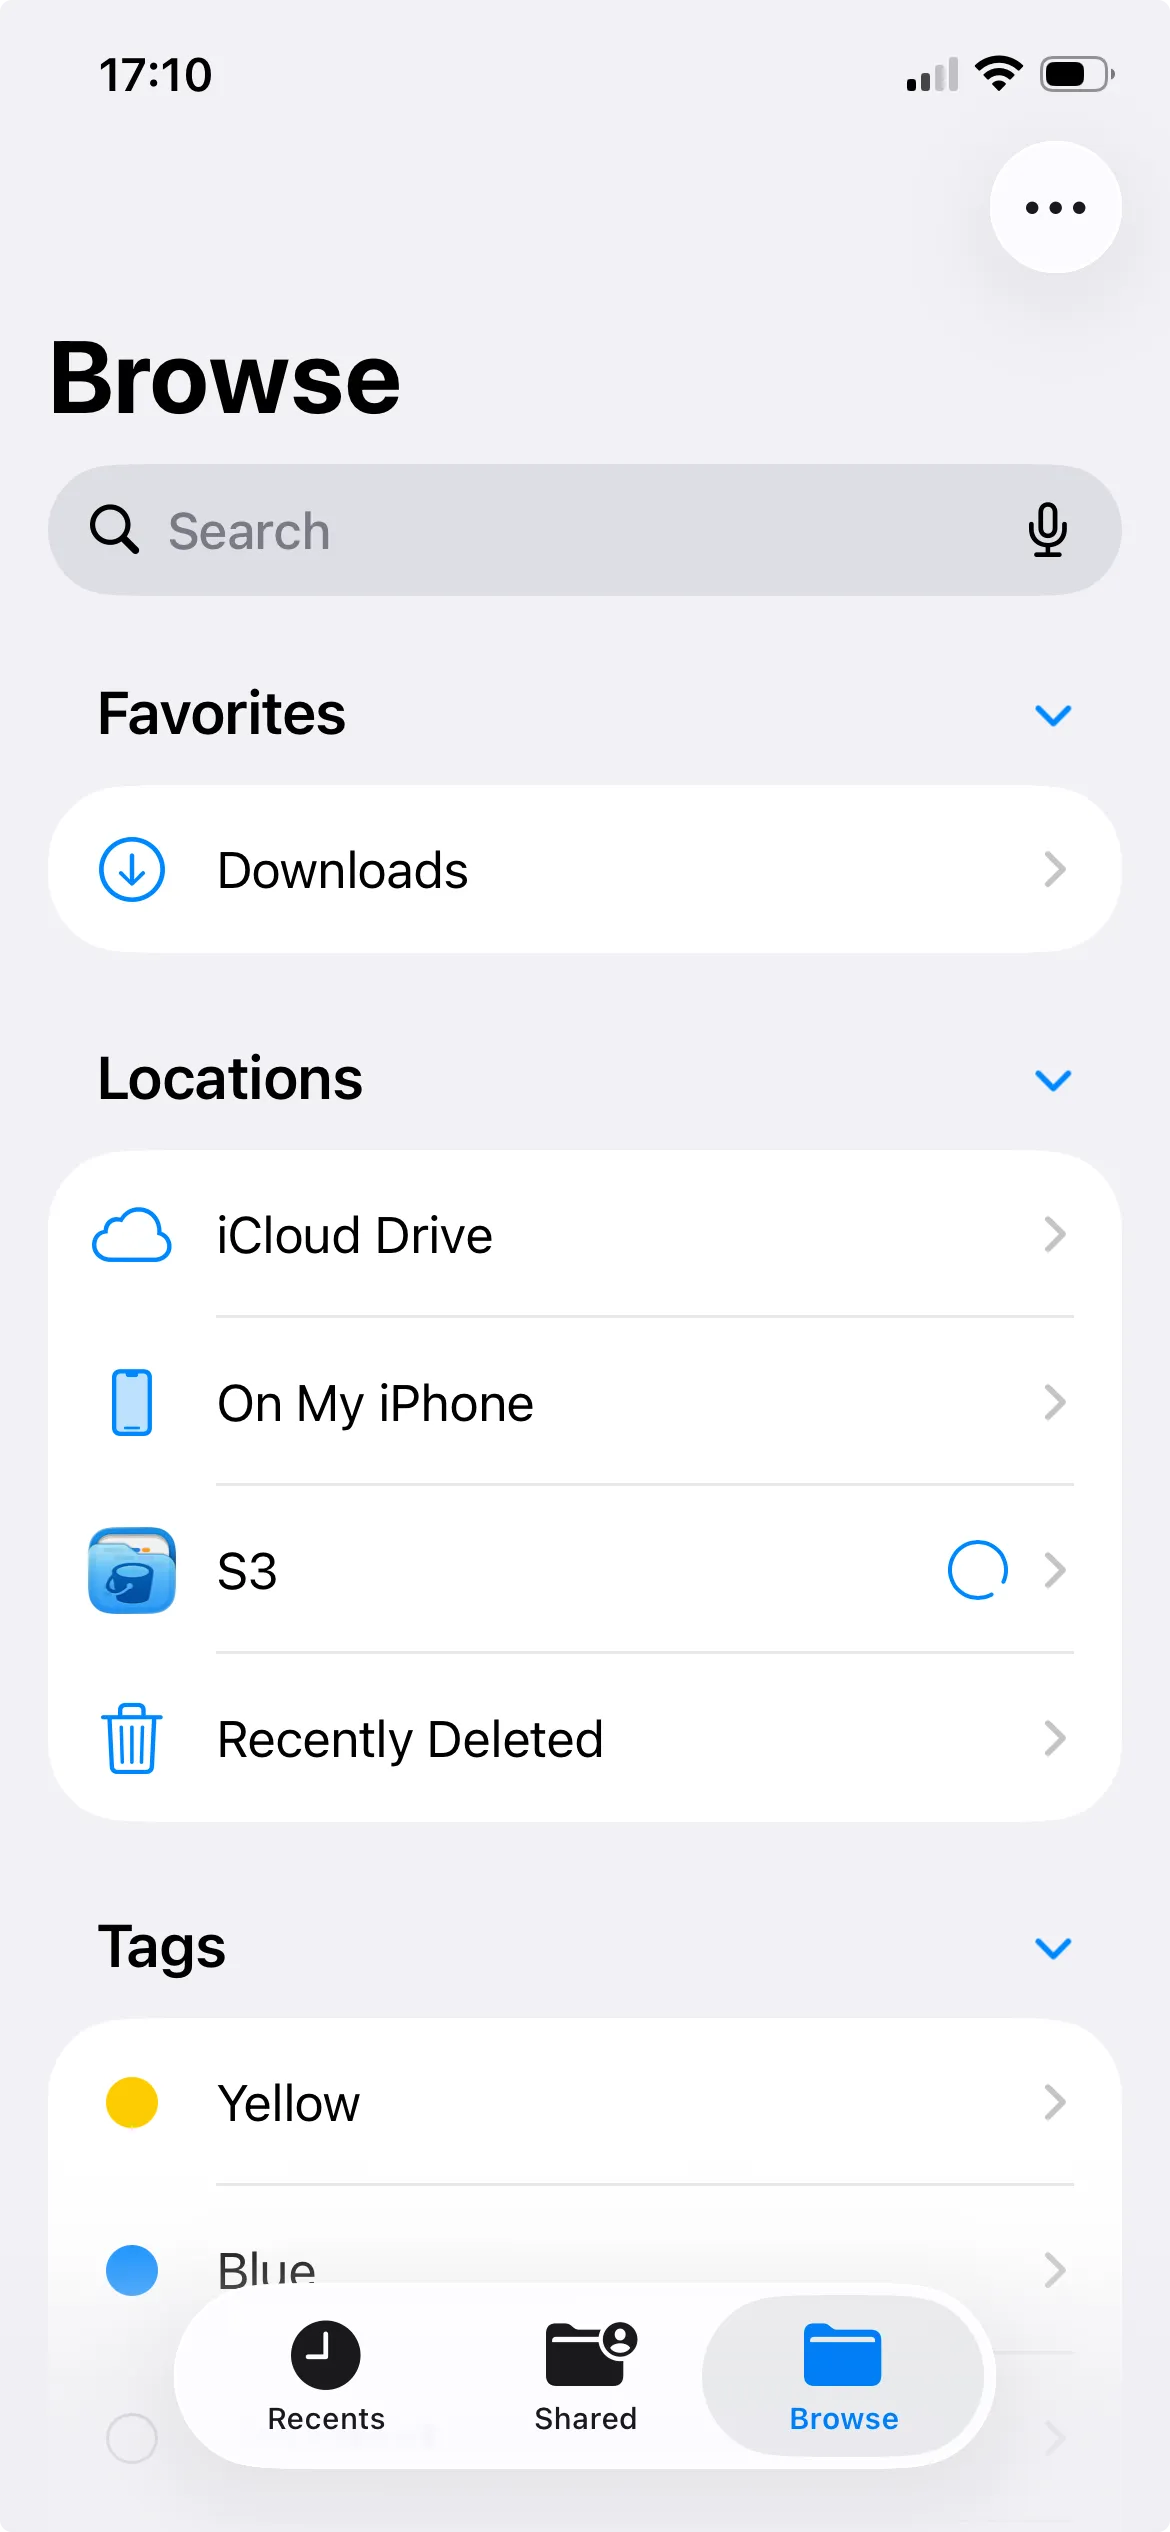
The final step was to ensure that I could access all my documents on iOS. For this, I installed S3 Client - Files location which allows you to attach S3 compatible storage (i.e. my R2 storage) to iOS’s built-in Files application.
Conclusion
In this blog post I spoke about migrating my documents from iCloud Drive to a Cloudflare R2 bucket and sync it across my devices using rclone.
In the future, I also want to add an additional backup layer using Backblaze B2 storage, as well as look into migrating my photos off of iCloud. I’ll be sure to blog about those as well.