Switching to Omarchy: It's Neovim after all
/ 7 min read
Table of Contents
Introduction
In my previous blog post, I indicated that I was intending to use Zed as my primary editor, since I considered learning Vim a bridge too far. I write a lot of markdown and having a powerful markdown editor is important to me.
At the time I knew that Zed’s built-in markdown capabilities were lacking but I thought that it could be easily addressed with extensions.
Well, it seems I may have been a bit over-optimistic in that regard.
While Zed supports extensions (and have a marketplace full of them) they are lacking for the specific things I need. You may recall from the previous post that I wanted the following:
- Markdown shortcuts which will allow me to quickly apply formatting such as bold or italic to selected text.
- The ability to paste images of screenshots, save the image to the current folder, and add a markdown image tag to the current document.
I knew these were lacking in Zed and thought they could be addressed by creating new extensions. Sadly, the extension API in Zed does not allow for these. The shortcuts can sort of by addressed with custom keymaps, but those would be hacky as there is no way to natively operate on the selected text inside a keymap. You would have to send keystrokes to cut the selected text and then paste it again inside the generated markdown.
On the other hand, I knew that the LazyVim had a rich plugin ecosystem, so I decided to have another look at it and reconsider my previous decision not to learn Vim.
The Vim landscape
You may have noticed that I’ve been talking about Vim and LazyVim so far in this document. Before I continue, I would like to talk a bit about the Vim landscape and get the terminology out of the way.
Vim
Vim is the original editor that was developed in 1991 and which was itself a clone of the vi text editor - which was originally created for the Unix operating system.
Neovim
Neovim is a hard fork on Vim from 2014. It was created to modernise the Vim internals and remain backward compatible. It added built-in LSP (Language Server Protocol) support, tree-sitter for better syntax highlighting, and introduced Lua as a scripting language for plugins.
LazyVim
LazyVim is a Neovim distribution. It is a curated set of plugins and configs installed on top of vanilla Neovim.
LazyVim on Omarchy
The LazyVim installation that comes with Omarchy adds theming support and some opinionated defaults.
Learning Neovim
There are many tutorials out there to help you learn how to use Neovim. Some of them go into great depth on configuring Neovim, but since Omarchy already comes with LazyVim and have a lot of preconfigured plugins, I am not bothering with those.
Instead, I am taking the following approach:
- I read the The LazyVim introductory docs in the Omarchy manual. This does not really teach you much about using Neovim, but it does give a bit of an orientation.
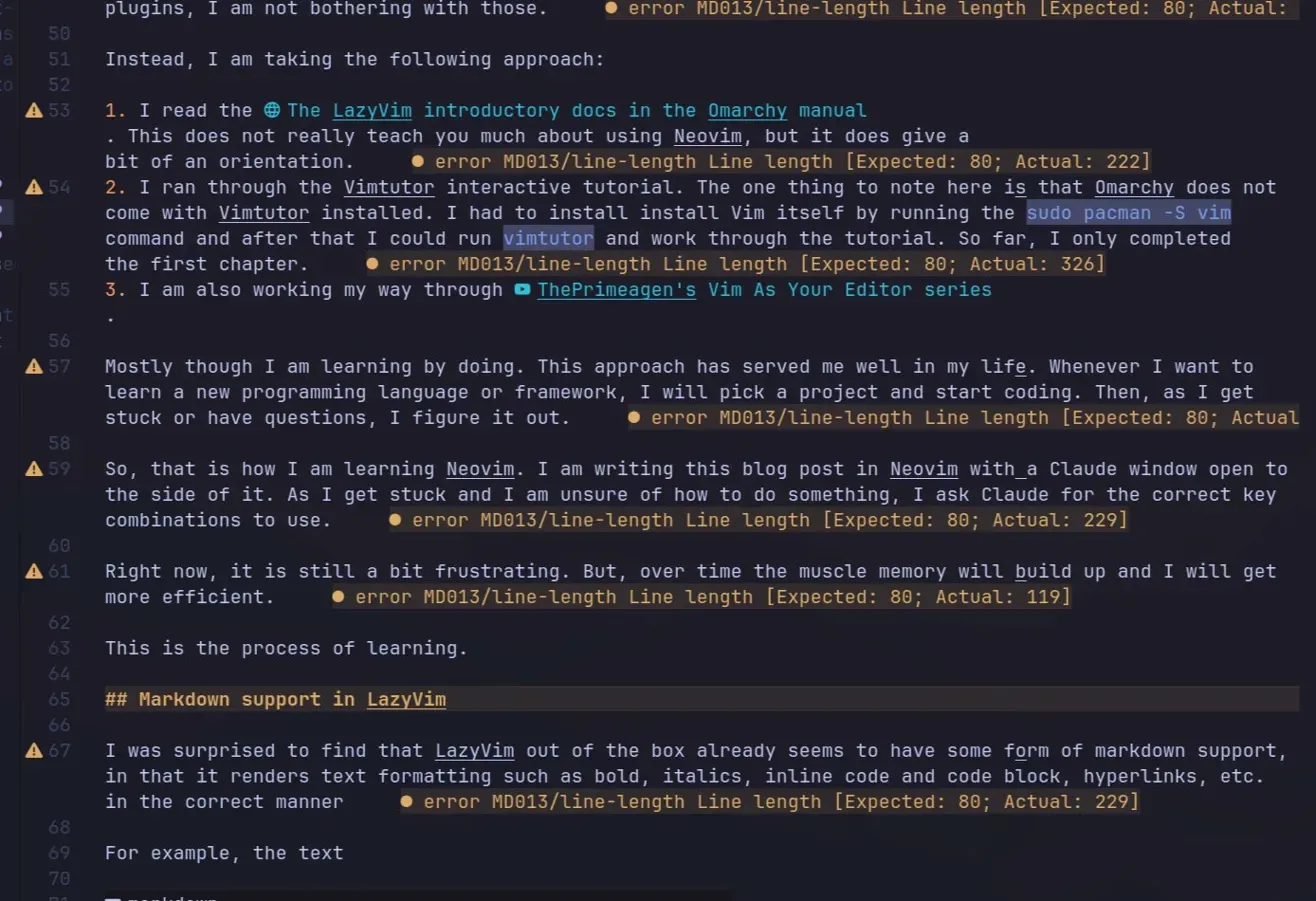
- I ran through the Vimtutor interactive tutorial. The one thing to note here is that Omarchy does not come with Vimtutor installed. I had to install install Vim itself by running the
sudo pacman -S vimcommand and after that I could runvimtutorand work through the tutorial. So far, I only completed the first chapter. - I am also working my way through ThePrimeagen’s Vim As Your Editor series.
Mostly though I am learning by doing. This approach has served me well in my life. Whenever I want to learn a new programming language or framework, I will pick a project and start coding. Then, as I get stuck or have questions, I figure it out.
So, that is how I am learning Neovim. I am writing this blog post in Neovim with a Claude window open to the side of it. As I get stuck and I am unsure of how to do something, I ask Claude for the correct key combinations to use or plugins to suggest.
It is still frustrating. Over time the muscle memory will build up and I will get more efficient. This is the process of learning.
Markdown support in LazyVim
Included markdown support
I was surprised to find that LazyVim out of the box already seems to have some form of markdown support, in that it renders text formatting such as bold, italics, inline code and code block, hyperlinks, etc. in the correct manner
For example, the text
This is **bold** text, _underline_, and `inline code`.Will render as follows:

While searching for a way to preview the markdown, I also came across the suggestion to enable the Markdown Extras in LazyVim. This can be done by running the command :LazyExtras, finding the lang.markdown option, enabling it by pressing x and then restarting NeoVim.
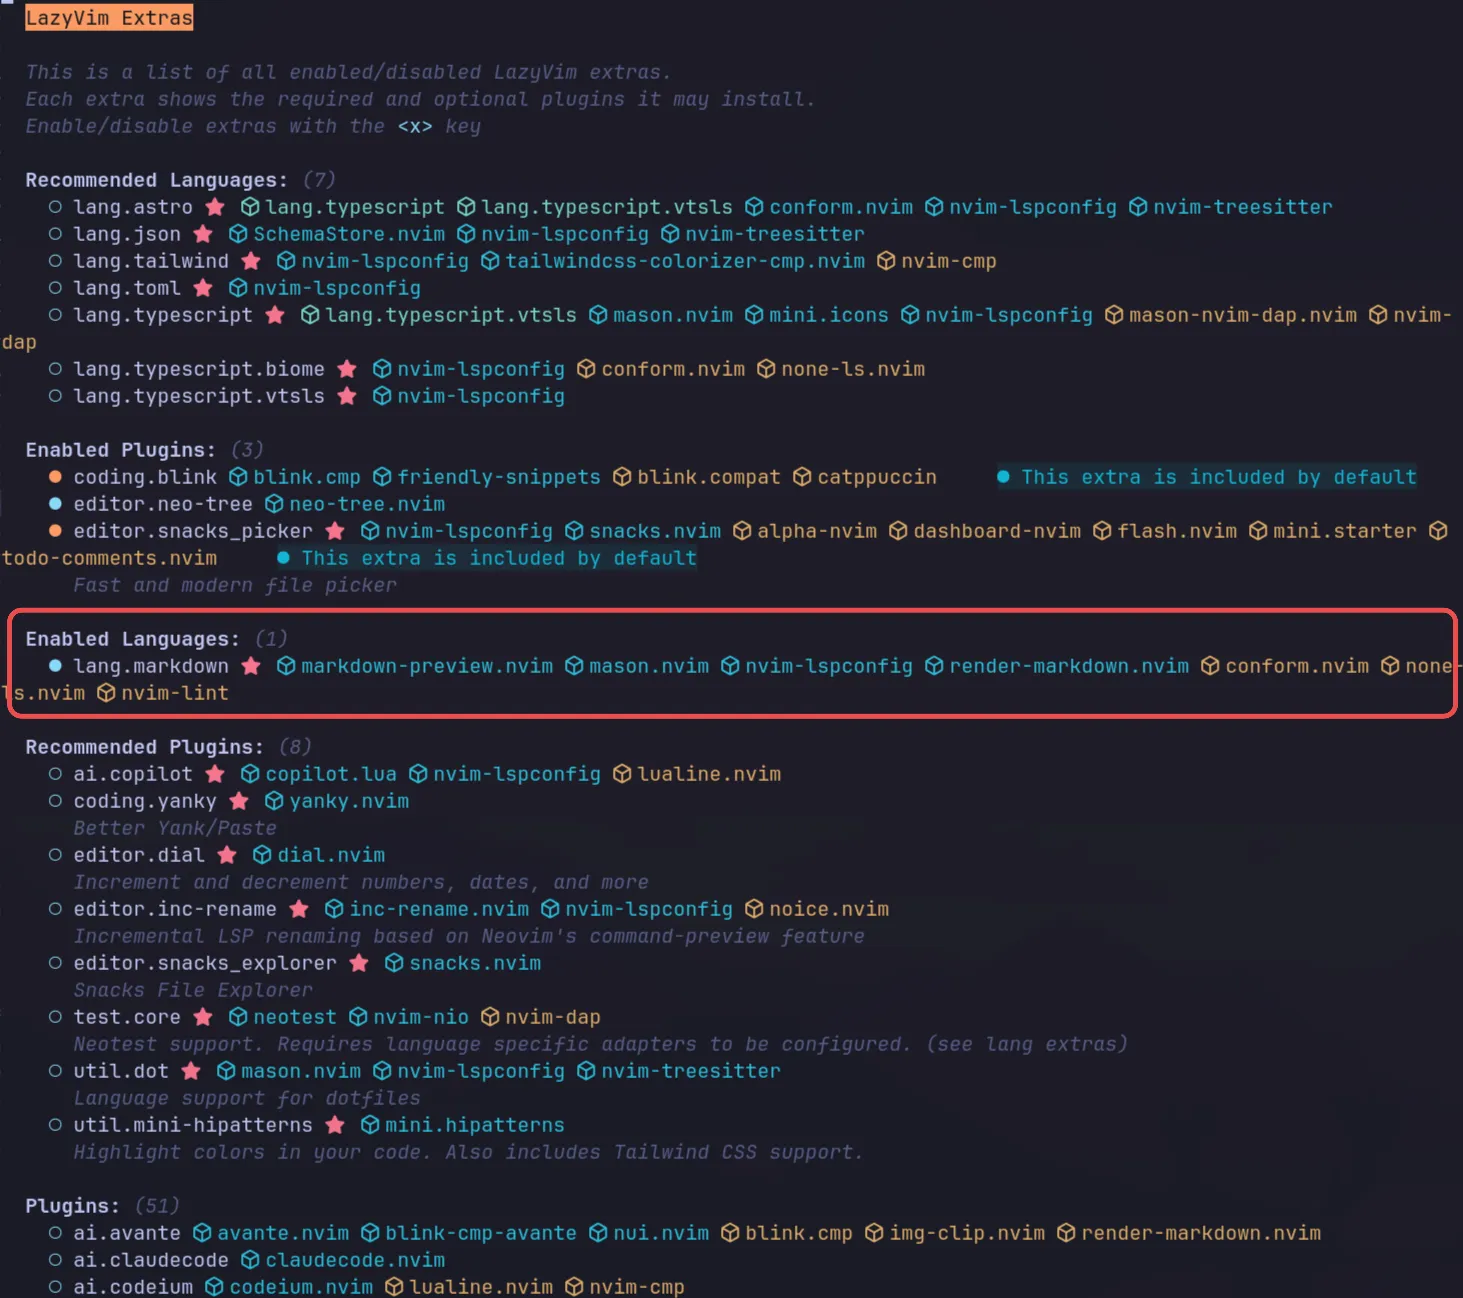
This adds a handy markdown previewer which you can open by using <leader>cp or running the :MarkdownPreview command.
The one downside to enabling the markdown language in Neovim was that my document started to light up like a Christmas tree with linting errors.
It seems when I enabled the markdown language, it also enabled things like linting. Thankfully it was just a single linting error related to line length that was repeated. I did not need this, so I disabled it by adding a .mardownlint.json file to my project root and disabling that particular rule.
{ "MD013": false}Pasting images into markdown
I often take screenshots that I want to include in blog posts and would like to simply paste the screenshots into the document and have it a) save the pasted image alongside the current file, and b) add an image tag into the document.
For this, I decided to use the hakonharnes/img-clip.nvim plugin. I installed and enabled it by adding the ~/.config/nvim/lua/plugins/img-clip.lua file as follows:
return { "hakonharnes/img-clip.nvim", opts = { -- default options, customize as needed default = { dir_path = ".", embed_image_as_base64 = false, prompt_for_file_name = true, drag_and_drop = { enabled = true, insert_mode = true, }, relative_to_current_file = true, }, }, keys = { { "<leader>p", "<cmd>PasteImage<cr>", desc = "Paste image from clipboard" }, },}I copied the default config from their website, set the dir_path to the current directory (.), and enabled the relative_to_current_file option. This ensures the image is saved in the same directory as the file I am currently editing.
Markdown shortcuts
The other thing I wanted was to be able to use markdown shortcuts for things like bold, italics, hyperlinks, etc. I researched extensions and came across a number of options, but the one that stood out was YousefHadder/markdown-plus.nvim.
Once again, enabling was as simple as adding the ~/.config/nvim/lua/plugins/markdown-plus.lua file as follows:
return { "YousefHadder/markdown-plus.nvim", ft = "markdown", opts = { links = { smart_paste = { enabled = true, timeout = 5, -- 1..30 }, }, },}I enabled the smart_paste option which enables smart paste from the clipboard. It works by copying a URL to the clipboard, then highlighting text using visual mode and invoking the Smart paste key mapping (<localleader>mp). This will turn the highlighted text into a markdown link.
Conclusion
So, that’s where I am at the moment in my Neovim journey. It is early days and editing is still frustrating but I am already becoming more used to using a modal editor like Neovim. I consider the fact that I was able to write this entire blog post in Neovim an achievement.
Stay tuned for more blog posts on my Omarchy journey.